
Every reconstruction failure has the same underlying cause: the model could not tell where the object ended. A cast shadow becomes a plinth. A wooden table under the subject becomes a second object fused to its base. A shallow depth of field blurs a handle into the wall behind it and the handle disappears. None of these are model bugs. They are all the reference image doing its job badly.
The fix is old and boring and it comes from product photography: isolate the subject, light it evenly, keep it whole in frame. What follows is the set of rules we encoded into the SimplexGen object library, and why each one earns its place.
The five rules that matter
1. Pure white, seamless, no horizon
A seamless background has no visible line where the floor meets the wall. That line is the single most common source of phantom geometry: the model reads it as an edge belonging to the scene and extrudes a plane from it. Pure white also gives segmentation models an easy matte, which matters because most image-to-3D pipelines run background removal before reconstruction and inherit whatever that step gets wrong.
2. The whole subject, with margin
A cropped subject reconstructs as a cropped object. If the legs of a chair leave the frame, the model has no information about how the chair meets the ground, and it will invent something. We ask for clear margins on all four sides — not tight framing. Tight framing looks better in a moodboard and reconstructs worse.
3. Soft key light, one gentle contact shadow
Zero shadow is not the goal. A subject floating with no contact shadow gives no cue about which face is the base, and reconstructions come out tilted or hovering. One soft contact shadow directly under the subject is the sweet spot: enough to ground it, not enough to become geometry. Hard directional light with a long cast shadow is the failure case.
4. Sharp throughout
Shallow depth of field is a photographic virtue and a reconstruction vice. Blur removes the high-frequency detail that stereo and diffusion priors both rely on, and it removes it exactly where it matters most — the silhouette. Deep focus, sharp front to back.
5. No text, no watermark, no border
Text on or near the subject gets reconstructed as raised geometry with astonishing reliability. Borders become frames. Watermarks become surface damage in the texture. This is worth stating explicitly in a prompt because generators add them unprompted.
The quick test: if you cannot tell where the object ends by looking at a 64-pixel thumbnail of your reference, neither can the model. Silhouette legibility at small sizes predicts reconstruction quality better than resolution does.
What each mistake actually produces
| Reference problem | What the model does with it | What it costs you |
|---|---|---|
| Hard cast shadow | Reconstructs the shadow as a low plinth or skirt fused to the base | Manual boolean cleanup, usually destroying the base geometry |
| Visible floor/wall seam | Extrudes a background plane into the scene | A second shell you must isolate and delete |
| Cropped subject | Invents the missing part, often asymmetrically | The object is wrong in a way that is hard to notice until it is rigged or printed |
| Shallow depth of field | Rounds off or omits blurred protrusions | Handles, spouts and thin features go missing |
| Busy background | Fuses background objects into the subject | Unusable; regenerate rather than repair |
| Text or watermark | Raised lettering in the geometry and the texture | Retexturing, and often reprinting |
Presentation is not the same as style
There is a difference between how a subject is finished and how it is presented. Finish is material, colour and wear — brushed brass, weathered oak, matte plastic. Presentation is camera and lighting — three-quarter product shot, orthographic elevation, clay render, isometric.
Both are useful, but they fail differently. A wrong finish gives you the right object in the wrong material, which a texture pass fixes. A wrong presentation gives you a broken reconstruction, which nothing fixes. So it is worth being strict about presentation and generous about finish, which is exactly how the library is structured: every subject is rendered across a fixed set of eight presentations and twelve finishes, with the first finish always being the subject's own honest materials.
Orthographic views deserve a special mention
A clean orthographic elevation — square to camera, no perspective distortion, even diffuse light — is the most under-used reference type. It is not a good hero image, but it is an excellent input for anything that needs to measure: silhouette extraction, profile-based modelling, blueprinting a form before sculpting it. If you are producing a family of related objects that need consistent proportions, generate the elevations first and the hero shots second.
A worked reference set
These are all straight from the library, unretouched, and each links to its own page with the exact prompt used:
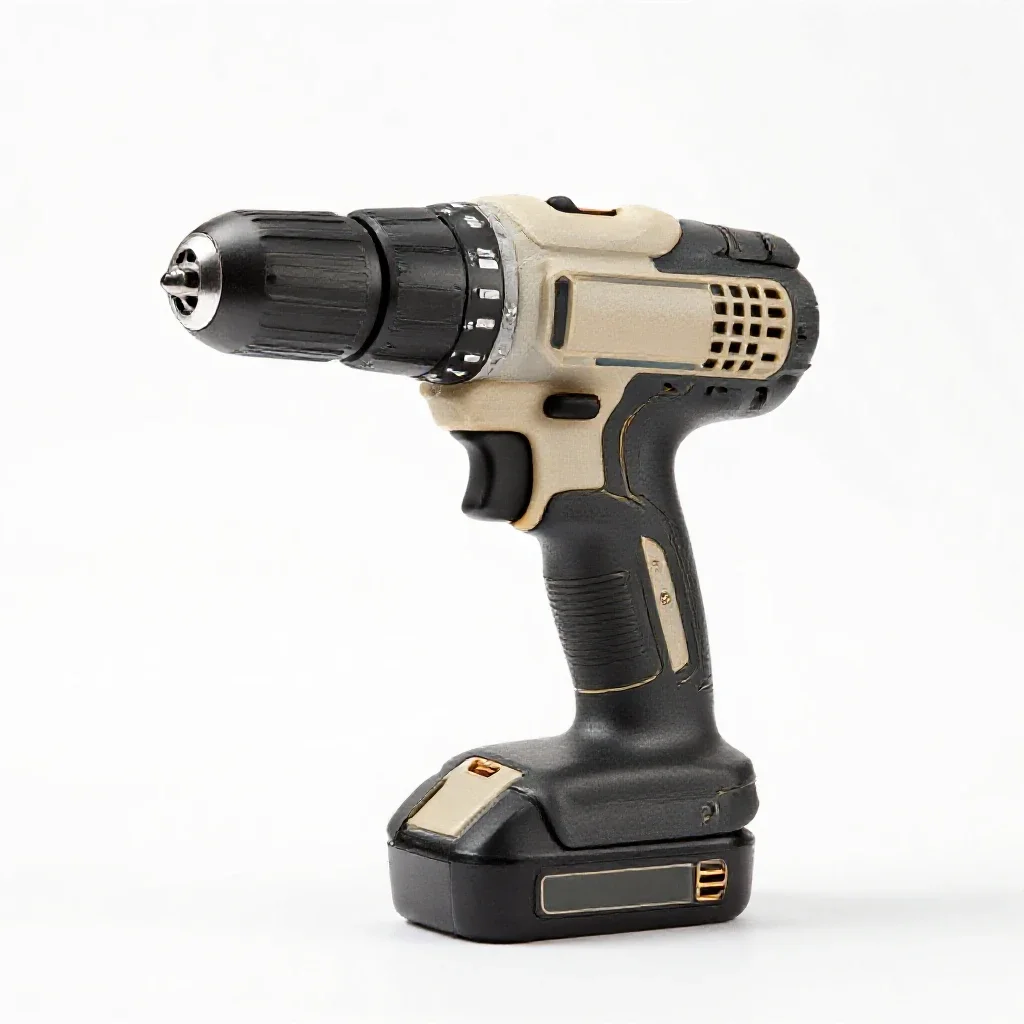 Hard-surface, many small features
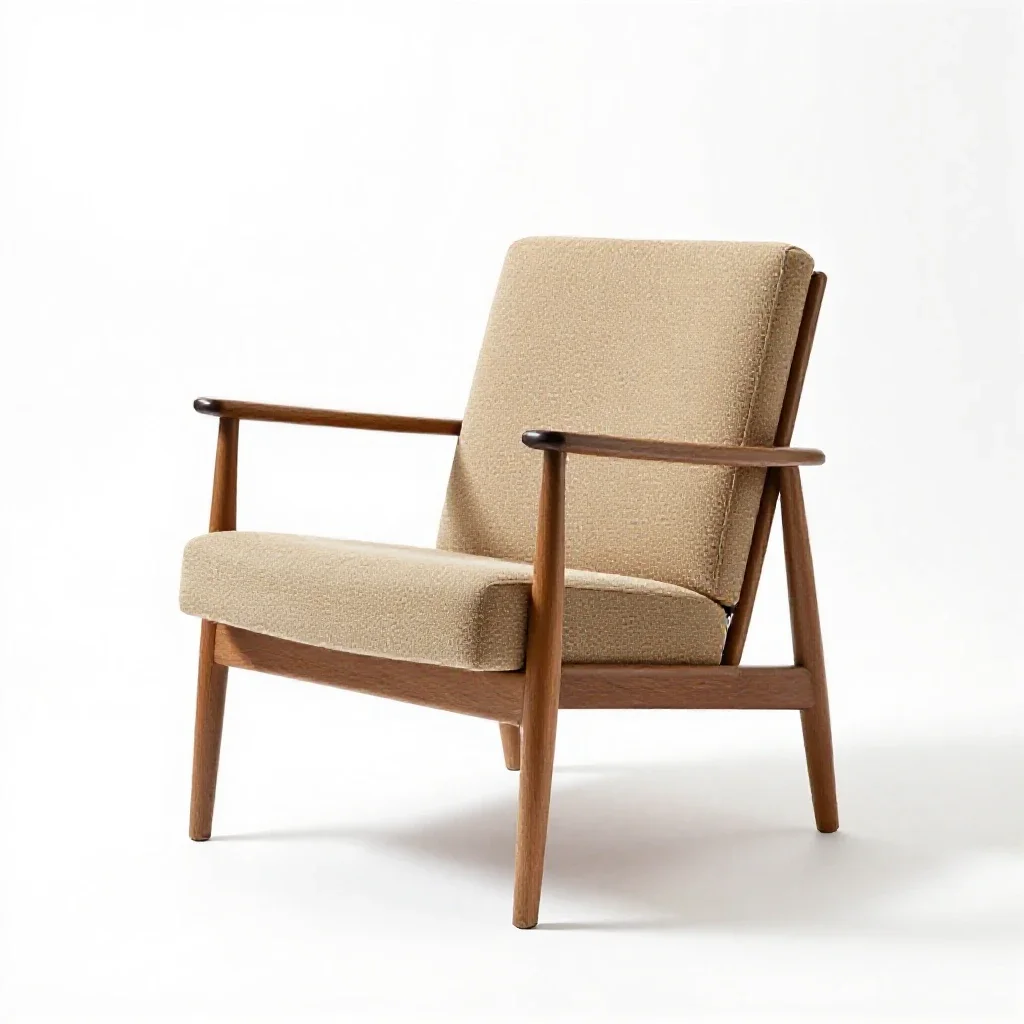 Legs meeting the ground
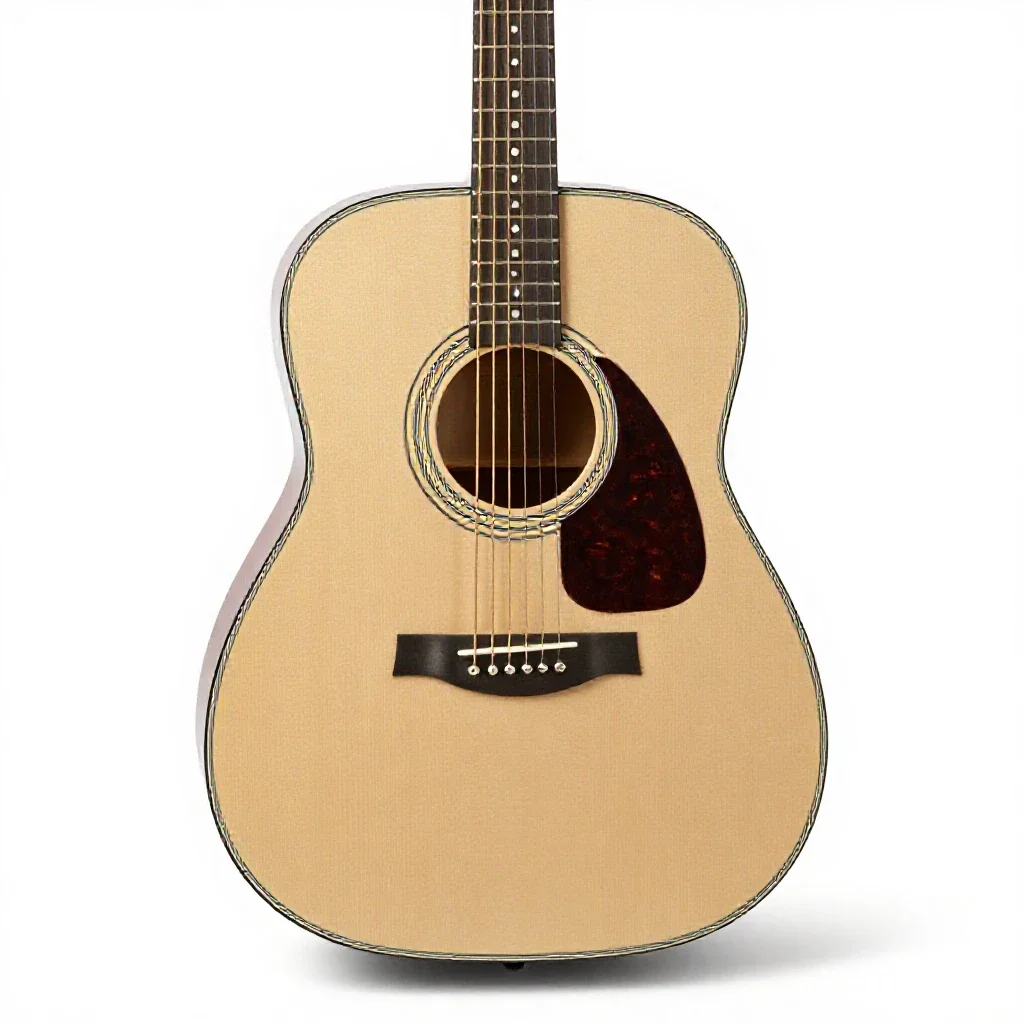 Thin neck, concave body
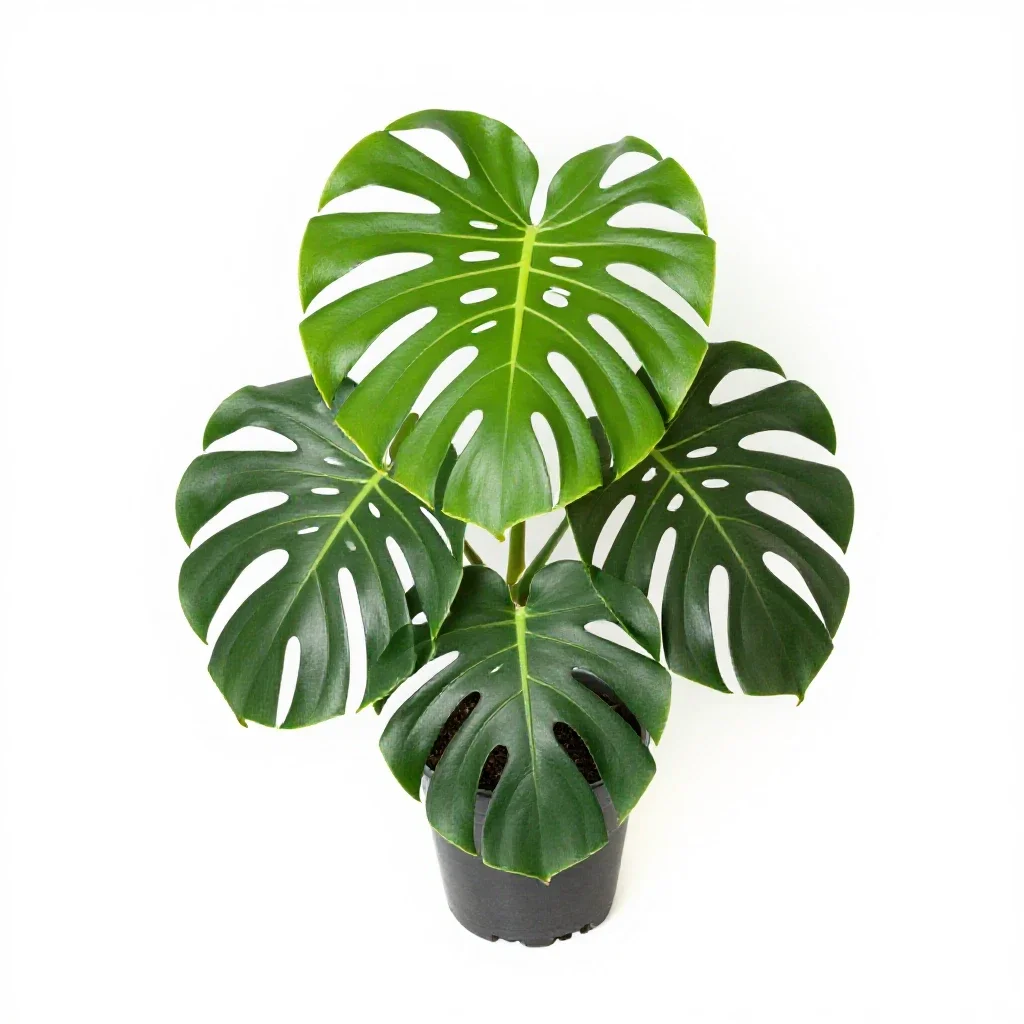 Organic, self-occluding
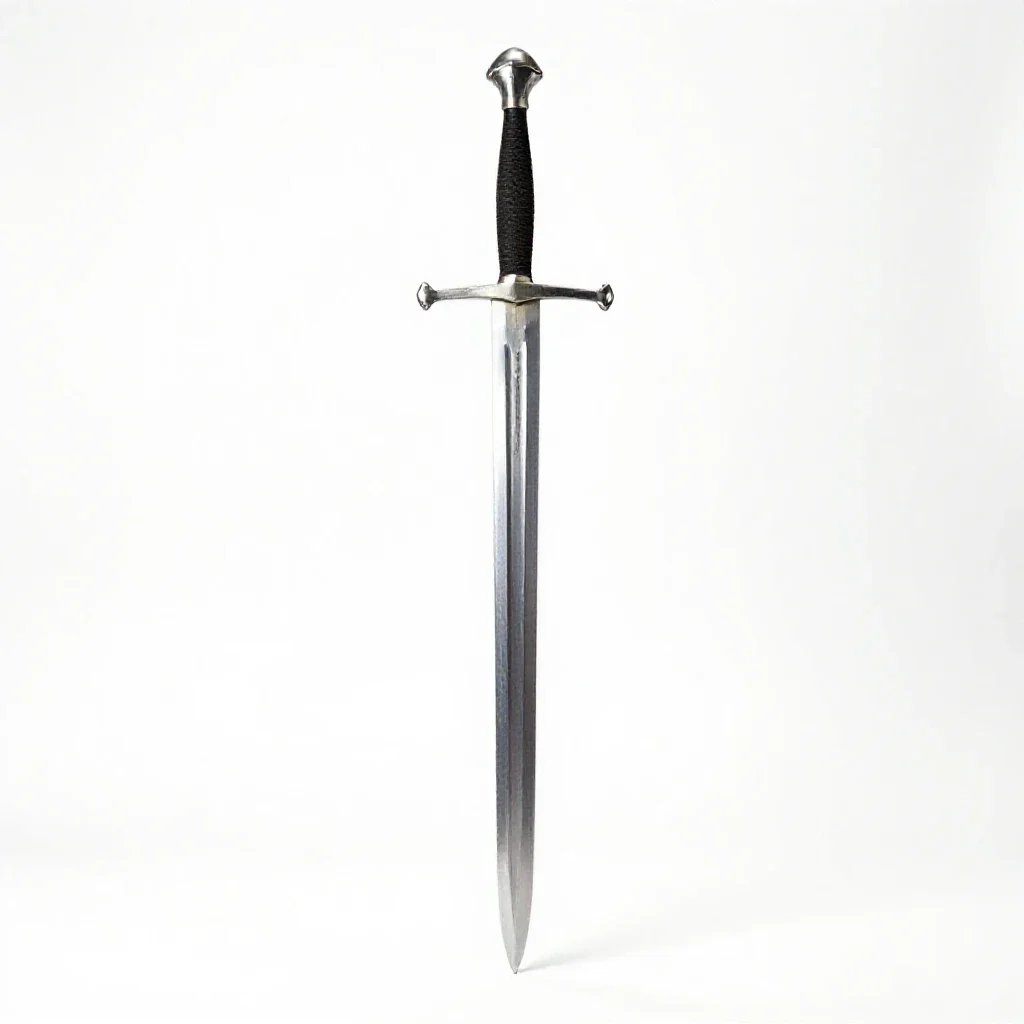 Long thin axis
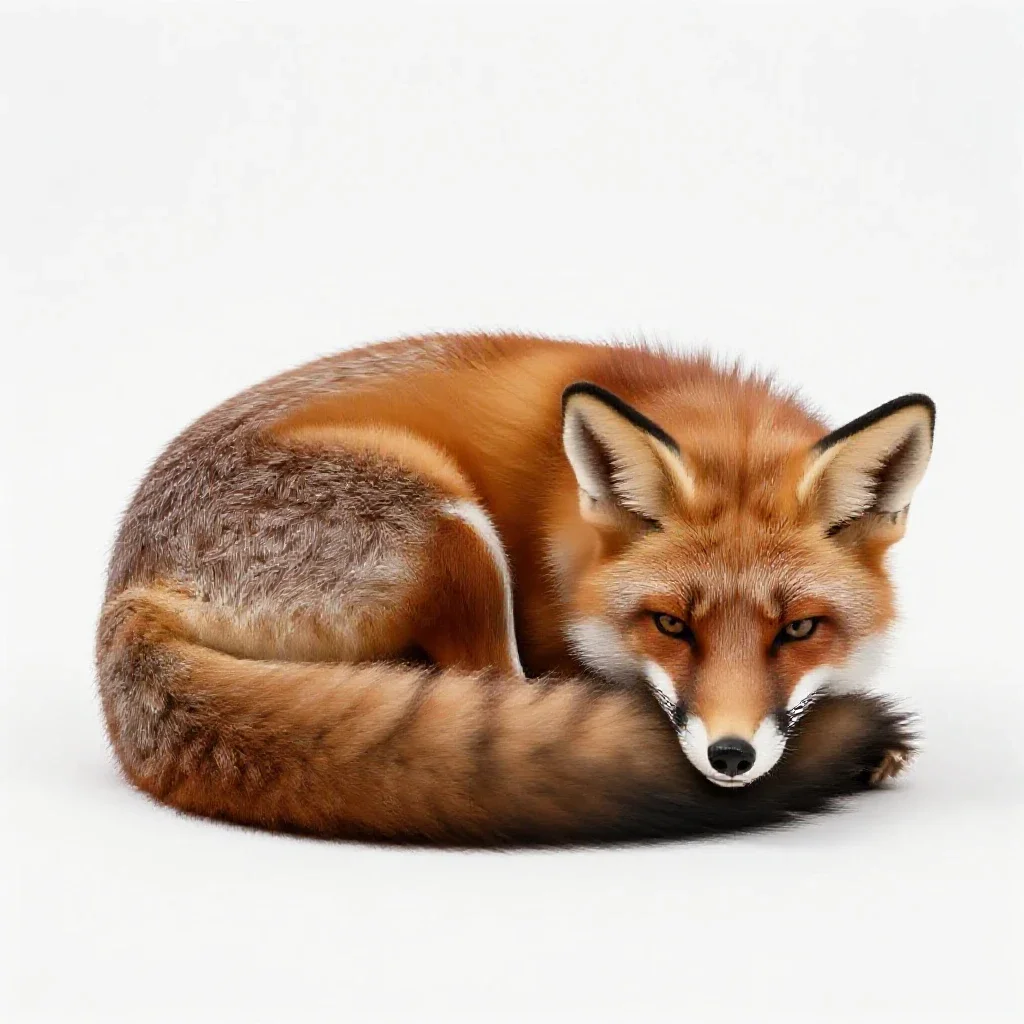 Fur and soft silhouette
Notice what they have in common and what they do not. The drill and the sword are hard-surface with crisp silhouettes and reconstruct almost trivially. The guitar has a thin neck that survives only because the framing is sharp and the background is empty. The monstera and the fox are the hard cases — self-occluding organic forms where even a perfect reference leaves the model guessing at the far side — and no amount of framing discipline fixes that. Knowing which category your subject is in tells you whether to invest in a better reference or in multi-view capture.
Where the library fits
The object library exists so you do not have to shoot or prompt a reference before testing something. Every image in it obeys the rules above, is stored as WebP quality 85, and links straight into the studio with its prompt attached. Browse by category — tools, furniture, musical instruments, tech, creatures — or search for a subject and open the closest match.
Start from a clean reference
Open any library image in the studio with its prompt already loaded, then send it through image-to-3D, paint and simplification without leaving the browser.
Browse the object library